
Getting Started with PreTeXt

Section Part 3. Launch Your Codespace

Your repository is just the storage. The Codespace is where you’ll actually edit, build, and preview: a full development environment that runs entirely in your browser, with every PreTeXt dependency already installed.
  1. From your new repository’s page on GitHub, find the green < > Code button, a bit below the repository name.
    The green "Code" button on a GitHub repository page.
  2. Click it, then switch to the Codespaces tab of the little popup that appears.
  3. Click Create codespace on main.
    The "Create codespace on main" button inside the Code popup.
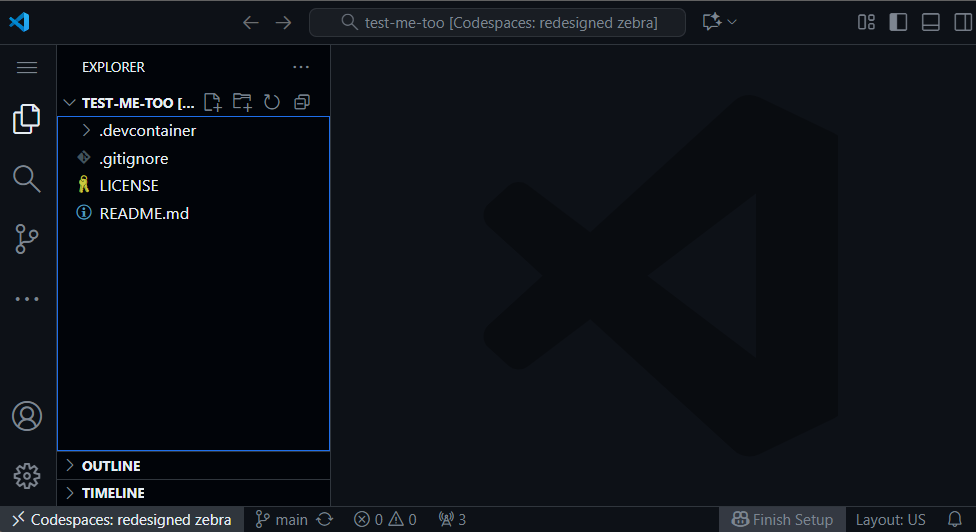
  4. A new tab opens and begins the setup. This is the 5-to-10-minute wait from the introduction. Get a cup of coffee. You’ll know it’s done when the progress messages stop and you see a layout with a file explorer on the left and a welcome file in the center.
    A freshly loaded Codespace showing the file explorer sidebar on the left and the README open in the main editor.

βœ“ You know it worked when….

  • You see a file explorer on the left side of the browser window.
  • At the very bottom of the window there is a blue bar, and somewhere on that bar is a β–· PreTeXt button.
  • A terminal panel is visible at the bottom (or can be opened by pressing Ctrl+`).

If you get stuck: the Codespace seems frozen.

First-time setup really does take several minutes, and some of those minutes look silent. Give it at least ten before worrying. If after fifteen minutes there is still no file explorer, close the tab, return to your repository, click < > Code, then Codespaces, and click your existing codespace to resume rather than creating a new one.